Hi everyone! It’s been a long time since my previous post, and today I want to catch up and share some information about few things that I’ve been working on during this period.
This post will be about my new tutorial on Unity 4.6 New GUI system, which I wrote for for RayWenderlich.com. I also plan to write a second post about my new game today, so stay tuned!
But before talking about the tutorial, let’s speak about the Unity 4.6 New GUI system.
Old GUI System
For those who are new to Unity or missed the announcement about the new GUI system introduced in Unity 4.6, here is some quick information.
Before the Unity 4.6 New GUI system was introduced you had to create and manage your user interface in the code (inside the OnGUI method). So if you wanted to create a few buttons you had to write something like this (example from Unity doc):
using UnityEngine;
using System.Collections;

public class ExampleClass : MonoBehaviour {
    public Texture btnTexture;
    void OnGUI() {
        if (!btnTexture) {
            Debug.LogError("Please assign a texture on the inspector");
            return;
        }
        if (GUI.Button(new Rect(10, 10, 50, 50), btnTexture))
            Debug.Log("Clicked the button with an image");

        if (GUI.Button(new Rect(10, 70, 50, 30), "Click"))
            Debug.Log("Clicked the button with text");

    }
}
And you couldn’t even see those buttons on the screen until you actually run the game!
Alternatively you could use some kind of 3rd party GUI system like NGUI, which was much better than built-in GUI system, but still lacked integration with Unity editor, simply because it was a 3rd party app. Another downside for indie developers is that most of those 3rd party GUI systems were paid.
Unity 4.6 New GUI
However, Unity developers didn’t just sit back and watch how we struggle. They worked hard on the new GUI system and finally they released it as a part of Unity 4.6.
Now, using Unity 4.6 New GUI system you can create your user interface in just a few clicks and drag-n-drops.
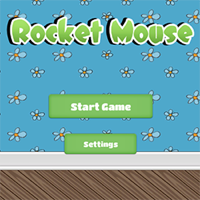
For example, you can create something like this in less than 5 minutes.
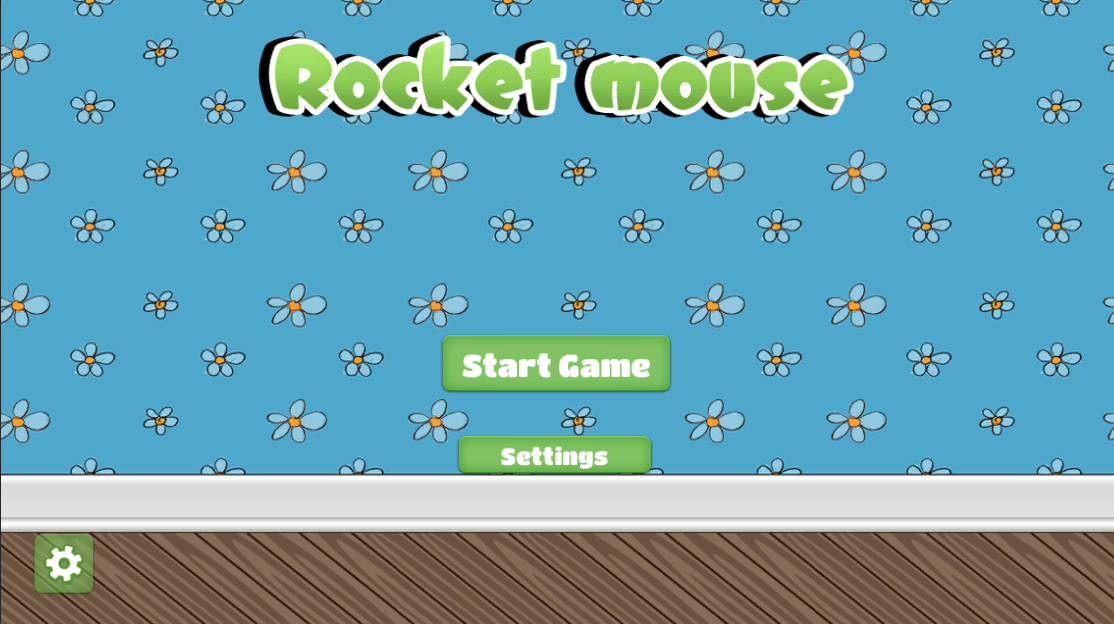
And you don’t have to write any code at all! You can create this user interface using Unity visual editor, so all you have to do is to drag and drop UI elements and set few properties in the Inspector.
What You Will Learn
Just as I’ve mentioned earlier, I’ve written a tutorial for those who want to learn how to create user interfaces using the new GUI system.
In this tutorial you will learn following topics:
- How to add UI system to your game.
- What is Canvas
- Adding Images, Buttons, Labels and other UI elements.
- Animating UI Elements
- Creating Dialogs
- Using Reference Resolution component
- Understanding Rect Transform, Anchors and Pivot
- Understanding and using 9-Slice Scaling
- Creating custom UI controls
And of course, just as usual, this tutorial is full of screenshots and animated GIF images to help you understand what to do or what should you see on the screen as a result.
Here are few examples:
By the way this tutorial was even noticed by Unity 😉
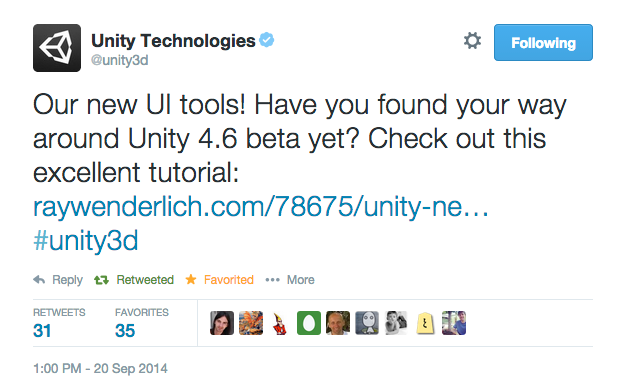
Give Us The Link Already!
You can find all parts of my tutorial here:
Also you can find all of my tutorials for RayWenderlich.com using this link.
Awesome… 5 stars for the custom control 🙂